Using Insights & Facts
Using Insight Control, you can create and manage Insights & Facts throughout your organisation’s account. By applying Insights & Facts, you’ll be able to track as well as add important information to your Life Cycle Model and Customer Journey Maps. In order to create Facts, you’ll first need to create an Insight they will belong to.
Because of customizable Object Names, some of the terminology in this article might be different from words used in your account. Find more information on custom Object Names here.
Jump to
The difference between 'My Insights' and 'Our Insights'
For Insights, there are some differences between ‘My Insights’ and ‘Our Insights’.
My Insights
These are personal Insights you can create and add throughout the platform, but they can not be edited or used by other users in your organisation’s account.
The Insights created in this overview do not show up in other users' ‘Insight Control’, Other users can view the content of your ‘My Personas’ anywhere you’ve used it in published Milkymaps or Milkymaps you’ve requested feedback for, through comments or sharing for example. If you’re an admin, all user types can view any ‘My Insights’ you’ve added to a CX Life Cycle Model.
'My Insights' can be used for Insights that are specific to particular teams, regions, Insights that are still being researched or developed or to allow Users to creatively apply the module throughout their Milkymaps.
Our Insights
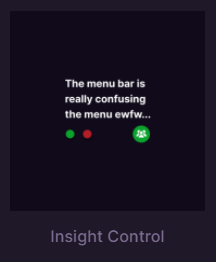
‘Our Insights’ can only be created by admins. They can be used in Milkymaps by all Users and other admins in the organisation. Other admins can also add them to a CX Life Cycle Model through Widgets. ‘Our Insights’ can be viewed by all user types in an organisation’s account, even in the overview under ‘Insight Control’. ‘Our Insights’ can easily be distinguished from ‘My Insights’ by their green colour and their icon.
'Our Insights' are a great way to help organize your organisation’s CX Insights, because Users can add them to their Milkymaps, but can not edit them. ‘Our Insights’ can be used for Insights that will benefit the entire organisation, for global research or as a way to share Insights that belong to organisation-wide goals or objectives.
These two categories are also the two default viewing tabs which can not be removed from your account.
Default views
Under Insight Control, there are two default views available. ‘My Insights’ and ‘Our Insights’ views can not be removed. Information regarding the Insights that are included in each of these viewing tabs can be found above.

Viewing Insights in Insight Control
There are a few different ways to view Insights in the Insight Control section of the Galaxy platform besides the two default views.
Navigating Viewing Tabs
In order to switch between your different viewing tabs, whether default or custom, you’ll first need to access the location in the platform where you can find your views.
How to get to your Viewing Tabs:
Use the top navigation bar and press ‘Insight Control’
The default tab on this page is ‘My Insights’, but you can switch the tab your viewing or change your default to another viewing tab.
Switching to another Viewing Tab
The view tab that’s selected is underlined and the text will be white. In order to view a different tab:
Simply press the title of another view to switch to that viewing tab.
Making another Viewing Tab your default
You can choose to switch ‘My Insights’ to another default viewing tab, meaning it will be the first view you see when entering Insight Control. In order to do so:

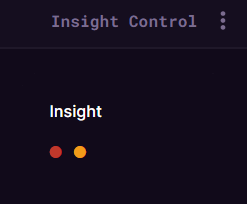
Press the three dots on the right
A dropdown will open, click ‘Make Default’ here.
Personal New Viewing Tabs
In addition to the two views that are available for everyone in every account, you can create an unlimited number of views just for you.
Creating a Personal Viewing Tab
Creating a new, personal viewing tab is simple and can be done with just a few clicks. First select whether you want to start from ‘My Insights’ containing private Insights you own, or from ‘Our Insights, the Insights created by admins in your organisation’s account.
Now you have the opportunity to either use the search field by entering a search query, or the filters to add as many criteria as you like. Find more information about the available filters here.

After you’re satisfied with your selection of Insights based on your search and/or selected filters, complete the following steps to save your view:
Press the Filters to open the dropdown menu
Below all filtering options, you will see a ‘Save as View’ button you’ll need to press.
This will create a new viewing tab, based on all filtering and search criteria active when you created this view. If new Insights are created in your organisation’s account that match your viewing tab criteria, they’ll automatically be visible there.
Changing the title of a Personal Viewing Tab
After you’ve saved a new view, it will appear with an automatically generated, numbered title. To make it easier to keep track of your different views, you can change the title to be more descriptive. In order to do so:
Select the personal view you’d like to rename. The text will be white and the title underlined once it has been selected.
Press the three dots on the right side, next to the title of the selected view.
Click ‘Edit Label’ in the dropdown
In the field that opens, enter the new desired title
Press the purple tickbox to save this new title

Deleting Viewing Tabs
If you want to delete a personal viewing tab because you no longer need it or because you have created an updated version for example, you can use the following steps:
Select the viewing tab you’d like to delete
Press the three dots on the right side of the title to open up the dropdown menu
Select ‘Remove’ to delete the view.
Please note that deleting a viewing tab can not be undone.
Creating Insights
In order to make an Insight visible for use, you’ll first need to create one. This can either be done through the Insight Control menu, in your Milkymaps or through your Life Cycle Model.
Through the Insight Control menu
Use the top navigation menu to go to ‘Insight Control’
Press ‘+ Create My Insight’ either in the right-hand corner or below your list of Improvements.
Admins can create an ‘Our Insight’ by pressing the tab labelled ‘Our Insights’ at the top. This will change the button in the top right-hand corner to ‘Create Our Insight’.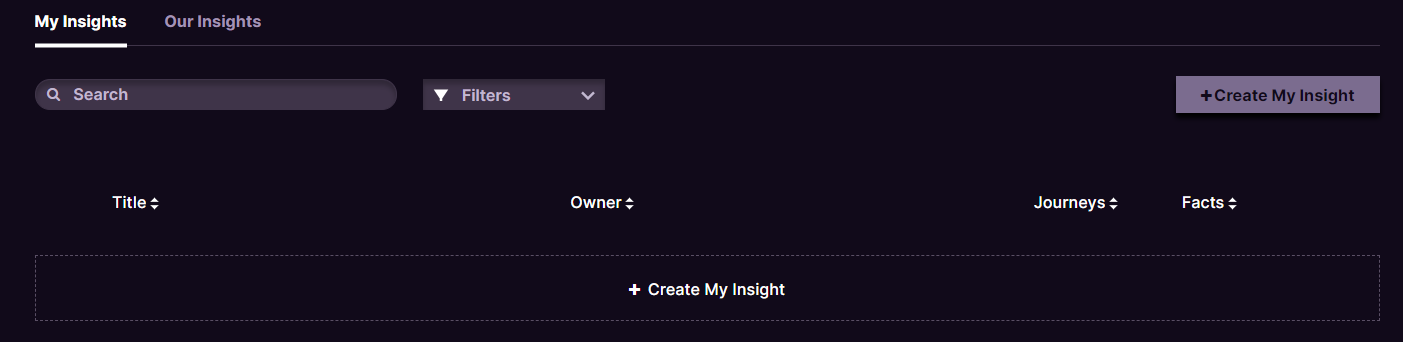
Through your Milkymaps
Either create a new Milkymap, open an existing Milkymap or duplicate an existing Milkymap.
Add a new Widget at the top of your Milkymap
Select Insight Control as your Widget type, adding an ‘+ Add Insight’ button in the Widget area.
OR
Add a new Lane to your Milkymap by pressing the ‘+' at the left side menu of your Milkymap to add an Episode Lane. To add a Touchpoint Lane, use the Episode header to enter the Episode that contains the Touchpoints where you’d like to add a content Lane.
Select Insight Control as your Lane type. This will make an ‘+ Add Insight’ button appear in your Lane.
Simply press the ‘+ Add Insight’ button in your Widget or Lane, to open the Insight Control Window.
In the Insight Control Window, press ‘+ Create Insight’ in the top middle of the window, or use the same button below your list of Insights. Admins can switch to the ‘Our Insights’ tab here as well to make the top button change to ‘Create Our Insight’
To make your Insights appear in your Milkymaps, please view the next step. With just the press of a button, you can make Insights visible in different locations in your Milkymaps.
Making Insights Visible in Milkymaps
By pressing ‘+ Add Insight’ in either a Widget, Episode Lane or Touchpoint Lane, you open an Insight Control window. In this window, you can view Insights under both ‘My Insights’ and ‘Our Insights’.
To add the Insight to either the Widget, Episode or Touchpoint through which you accessed Insight Control, simply press the ‘Add’ button in your list of Insights.

This will make it appear in the Widget or Lane in which you’ve added it, using a little summary of the information you’ve added to your Insight. It shows the title of the Insight, custom list values (if you’ve used any) and the number of Facts that are connected to this Insight.
Insight Information
After pressing a ‘Create My Insight’ or ‘Create Our Insight’ button, you can create a new Insight by adding the necessary information.
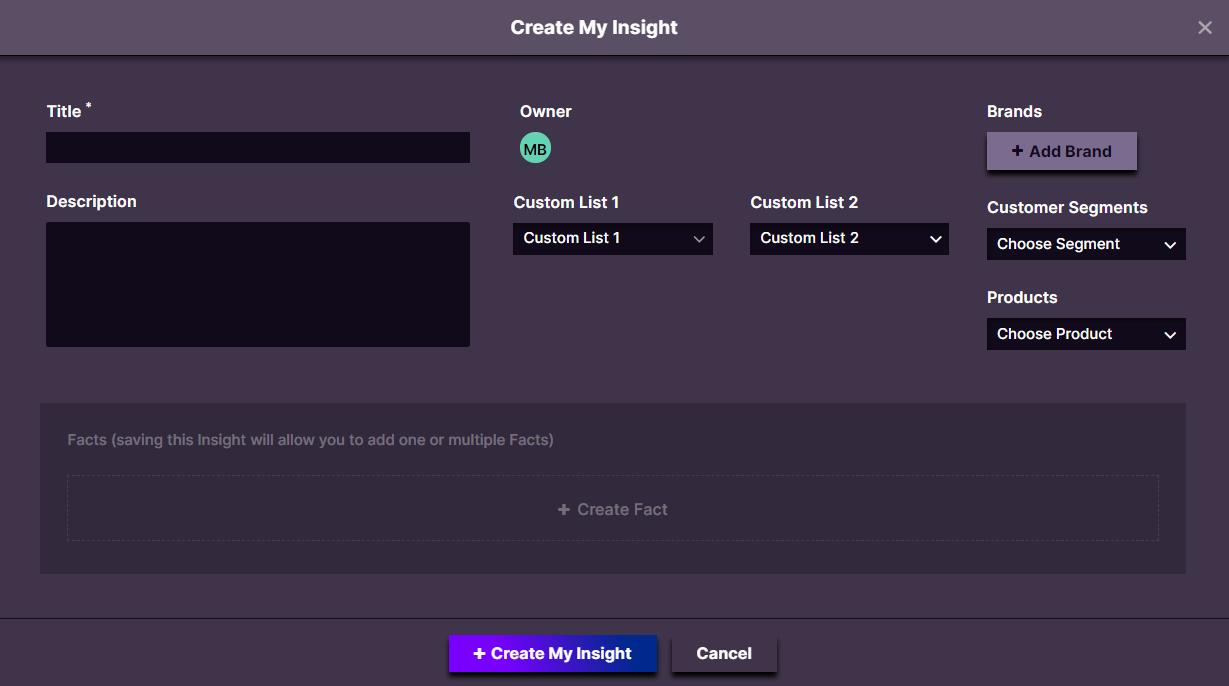
Title* - The only mandatory field for an Insight is the title. Try to make the title easy to understand and recognizable, it helps to align with other users regarding the way you phrase Insights.
Owner - The owner is automatically set to the person creating the Insight, but can be changed. ‘Our Insights’ can only be owned by admins, ‘My Insights’ can be transferred to any User or admin.
Description - In the description fields you’re able to add more details regarding this Insight, like the name of the research or project where it originated, the number of participants in a particular study or the link to a document containing more information.
Dimensions - To make Insights easier to keep track of and filter, you can add relevant dimensions using Brands, Customer Segments and Products.
Custom Lists - If an admin in your account has created Custom Lists, they’re available for use in every Insight. Two dropdowns will appear, allowing you to select from your organisation specific Custom List.
After adding at least the mandatory title to your Insight, you’ll have two save options. You can choose between these options in order to finalize creating your Insight.
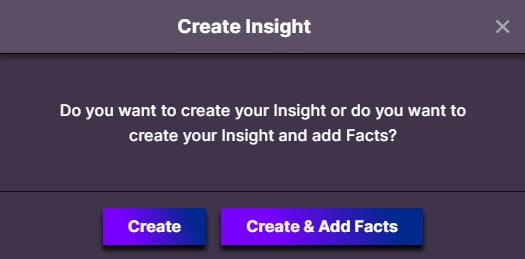
Either save your Insight and move on to another part of the platform by pressing ‘Create’. By pressing ‘Create & Add Facts’, you can immediately start adding one or more Facts to this newly created Insight.
Creating Facts
After saving an Insight, you have the option to add one or more Facts to support the information in the Insight.
Go to an Insight and click edit or press ‘Create & Add Facts’ when initially creating it.
Press ‘Create Facts’. You can do this in an Insight Control window at different levels of your Milkymap: Widget, Episode Lane, and Touchpoint Lane, as well as the Insight Control menu.
This will open up a window in which you can create your Fact.

You can only add an Fact to an Insight. Facts can never be created without a connection to an Insight.
Fact Information
After opening the window to create a Fact, you can complete it by adding information to multiple fields.
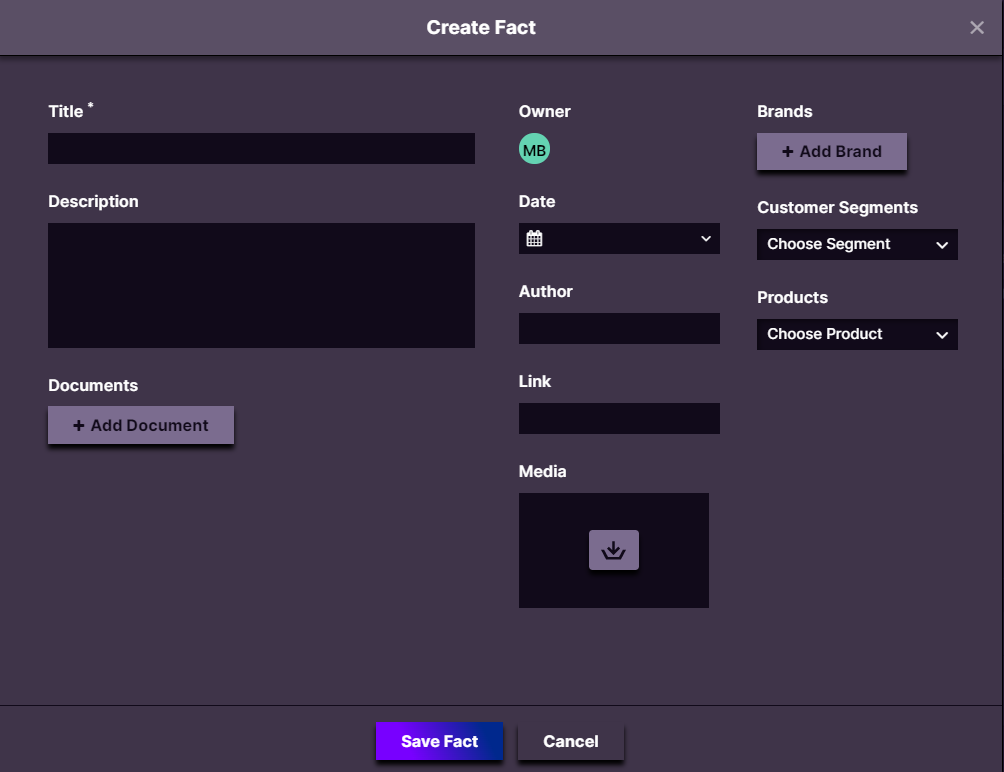
Title* - The only mandatory field for an Fact is also the title. Try to make the title easy to recognizable and easy to understand. For Facts it is also helpful to align with others regarding the way you phrase the Titles.
Description - In the description field you’ll be able to add further details regarding this fact. You could add the reason for creating this Fact, why it’s important or helpful for customers or information regarding supporting data and/or research.
Owner - The owner is automatically set to the person creating the Fact, but can be changed. Facts under ‘Our Insights’ can only be owned by admins, Facts under ‘My Insights’ can be transferred to any User or admin.
Documents - Add relevant files by using this field.
Date - If you’ve based your Fact on a published document or on data from a particular time period, you can add the date here.
Author - Add an author here if you’ve based your Fact on a particular report or research for example.
Link - Use this field to link to a relevant dashboard, project, or document in an online environment.
Media - Add either an image or a video using this field.
Dimensions - To make Facts easier to keep track of and filter, you can add relevant dimensions using Brands, Customer Segments and Products.
In order to save your Fact, simply press ‘Save’.
Custom Names
Galaxy account admins can rename both ‘Insights’ and ‘Facts’ by going to ‘Object Names’ under ‘Galaxy Admin’ in the top menu bar.
Simply select a singular and a plural for the word you’d like to use in your organisation and press ‘Save’.
Please be reminded that changes will affect all the locations where these words have been used throughout the entire platform. We’d strongly advise selecting a name and keeping it the same for a longer period of time, to not confuse others in your organisation. Read more about Object Names here.