Adding & Editing Touchpoints
After you’ve created a Milkymap, you can start setting up your Touchpoints. Touchpoints describe activities in different channels with an intention behind them or driven by a certain need. Episodes are made up of several Touchpoints.
Jump to
Adding a new Touchpoint
In order to add Touchpoints to your Milkymap, you will need to include a Touchpoint Lane in your Milkymap. There are two ways to add Touchpoints after you’ve created one:
Through a Lane
First add a new Lane.
Either by clicking this button in the top right-hand corner or by using the plus sign in the sidebar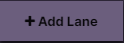
Select ‘Touchpoint’ as the Lane type
An ‘+ add touchpoint' button will now appear below every Episode you’ve created, allowing you to create as many Touchpoints as you’d like.
You can only add one Touchpoint Lane to each Milkymap. After you’ve created a Touchpoint Lane, you can use this Lane to add Touchpoints to all Episodes you’ve created. Touchpoint Lanes currently aren’t available for use in Child Milkymaps.
Through an Episode
After you’ve added a Touchpoint Lane to your Milkymap, you’ll also be able to add Touchpoints using a different method:
In your Milkymap, click on the header of the Episode you want to add a Touchpoint to. The header is above the Episode title and includes the number of the Episode.
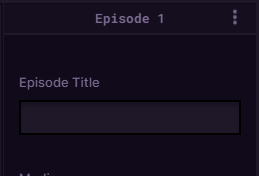
Now simply click the ‘+ add touchpoint’ button to create your new Touchpoint.
Touchpoint Information
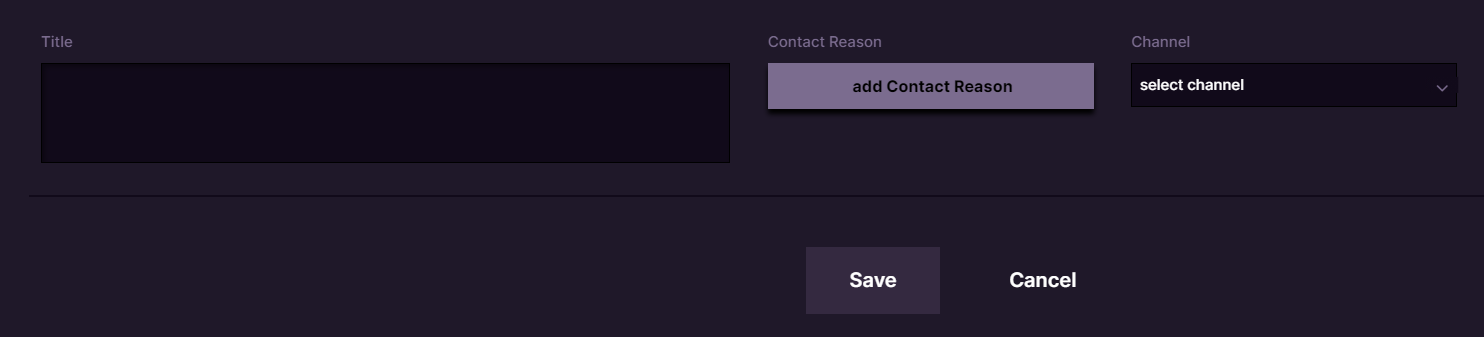
Clicking ‘+ add touchpoint’ will open a new window, in which you can add the title, Contact Reason, and channel for your Touchpoint.
Title - We believe every Touchpoint title should follow the same formula, for clarity and consistency:
I [active verb] [channel] because / to [Contact Reason]. For example, ‘I visit the website to change my personal information’.Channel - A channel is the medium through which a customer activity takes place. A Milkymap Galaxy account admin can set up the channels that can be selected in Touchpoints.
Contact Reason - Using a Contact Reason, you can connect your Touchpoint to a CX Life Cycle Model.
After you’ve added the required information, press ‘Save’ to create your Touchpoint. You can add Lanes to add additional content to your Touchpoints. Find more about using Touchpoint Lanes.
Editing a Touchpoint
To edit an existing Touchpoint:
Click the title of the Touchpoint
This will open a window with the current information of that Touchpoint (Title, Contact Reason, and channel)
Click ‘Save’ to keep any adjustments you’ve made, press ‘Cancel’ or the ‘X' in the right-hand corner to discard changes you’ve made.
Deleting Touchpoints
If a Touchpoint is no longer relevant for a journey, you want to edit someone’s draft, or you simply feel like getting rid of it, you can simply delete it. In order to delete a Touchpoint:
Click the three dots next to the Touchpoint title, this is an example of a Touchpoint about setting up a new phone
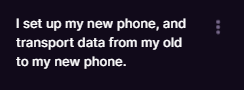
Press ‘Delete’
Organizing Touchpoints
Once you’ve created multiple Touchpoints, you might come to realize that the order needs to be changed. Changing the order of your Touchpoints is straightforward, you just use the Touchpoint header:
Hover over or click the left-hand side of the Touchpoint Header.

Now you can drag your Touchpoint into the desired order.