Applying Labels to your Milkymaps
Labels allow you to customize your Lanes, divide information, and help you create a comprehensive overview.
Jump to
Episode Grouping Labels
Episode grouping labels are unique labels within the Galaxy platform, as you have the option to create groups using multiple labels. Instead of having one label across the entire width of the Lane, like other Lane types, you can create multiple smaller labels after another. This will allow you to add another row with information on top of the existing Episode headers.
Adding Episode grouping labels
Use the sidebar on the left-hand side of your Milkymap and press the three dots in the Episode section. This section is always at the top of your Milkymap
In the popup, press ‘+ Create Group’.

This will create a new grouping label in the first available place, one Episode in width.
Repeat the same steps to add another label next to it. You can add as many labels as you have Episodes.
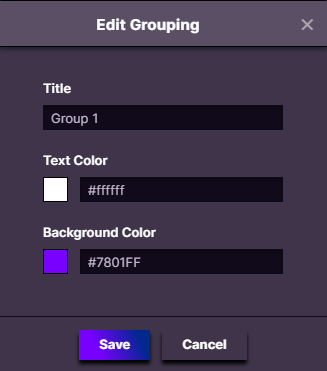
Customizing your grouping label
You can change the text colour, background colour and title of your grouping labels. Just remember to press save after adjusting the label to suit your needs.
Changing the selection of your grouping labels
By using the two bars on the sides of your grouping label, you can adjust the width. Press the bar and hold it to drag it to your new desired selection.
Moving your selection or group
If you move an Episode that belongs to an entire group, the entire group moves in that direction as well. This allows you to change the order of your Episodes, whilst keeping grouping intact.
Adding Labels to your Milkymaps
Labels can only be added to Lanes, not to Widgets. They create a small banner, as wide as all of the Episodes you’ve added. It can be customized using titles, background, and text colours.
Although Episodes form the structure of your Lanes, you can not add Labels to them.
In the sidebar on the left-hand side of your Milkymap, press the three dots below the Lane type name. Here’s an example of a Touchpoint Lane.
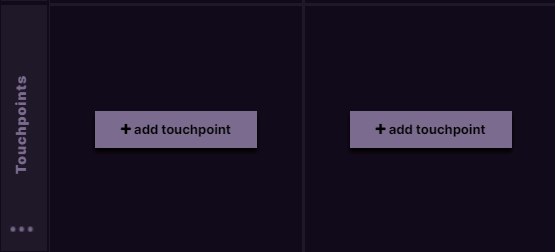
Pressing the three dots will open a small menu with two items: ‘Delete’ and ‘Add Label’
Open the ‘Edit Label’ menu by pressing ‘Add Label’, where you can set up the Label Options the way you want.
Label Options
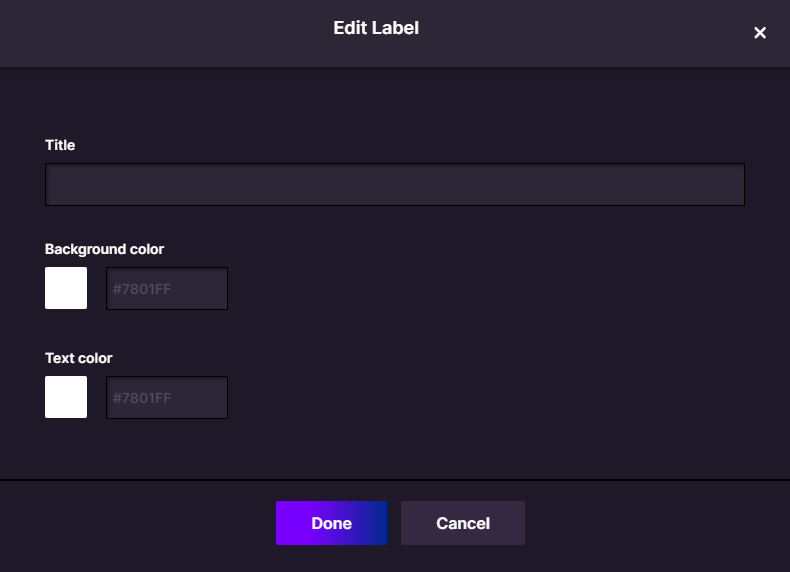
Title - Add the Label Title in this field
Background Color - You can specify the color of your Label here, either by clicking a color in the square or by typing the code. Using the code will allow you to incorporate your organisation’s color scheme into your Milkymaps.
Text Color - Specify the color of your text here